

Last Updated: November 12, 2026
Quick Summary
To avoid blurry photo puzzles, match your source image's pixel dimensions to the finished print size at roughly 300 DPI, using 200 DPI as the absolute floor. Check pixel dimensions, focus, motion blur and compression before uploading, and choose a smaller puzzle if your photo falls below the minimum.
- A 600x450mm puzzle needs roughly 7,000 x 5,300 pixels at 300 DPI.
- Zoom to 100% on a computer and inspect eyes, edges and fine texture for focus.
- Sharpening software adds edge contrast but cannot invent detail that was never captured.
- Messaging apps and social media recompress images, so request the camera original.
- Crop from the centre, keep the subject large, and stay above the puzzle's pixel needs.
Table of Contents
- Why Your Photo Looks Sharp on a Screen but Blurry on a Puzzle
- Photo Puzzle Image Resolution: The Numbers That Decide Sharpness
- How to Check Photo Quality for Printing Before You Upload
- Best Photos for Custom Puzzles and the Camera Settings That Produce Them
- Custom Photo Puzzle Cropping Tips That Protect Sharpness
- Ordering Your Blur-Free Custom Puzzle from QPuzzles
- Frequently Asked Questions
Why Your Photo Looks Sharp on a Screen but Blurry on a Puzzle
Your photo looks crisp on your phone, then turns soft and fuzzy once it's printed on a puzzle. That gap is the single biggest cause of blurry photo puzzles, and it comes down to how screens and print handle detail differently.
A screen glows, showing your photo in tiny dots of light packed so closely your eye blends them into a sharp picture.
Screen versus print: what actually changes
Three things change when a photo moves from screen to puzzle:
- Viewing distance. You hold a phone close. A finished puzzle sits on a table, and people lean in to study it.
- Detail limits. A screen can fake fine detail with brightness. Ink and board cannot.
- Enlargement. A photo sized for a phone gets blown up to fit a puzzle surface, and any weakness grows with it.
So the question isn't whether a photo looks good on screen. It's whether it holds enough image detail to fill the puzzle you've ordered.
Photo Puzzle Image Resolution: The Numbers That Decide Sharpness
Photo puzzle image resolution is the amount of real detail in your source image, measured in pixel dimensions.
The practical measure is DPI, or dots per inch.
Here's the simple maths. Multiply the puzzle's width and height in inches by 300.
Many phone cameras now produce 12 megapixels or more, which may be enough for smaller puzzles; larger puzzles demand more.
Resolution requirements by puzzle size and piece count
Piece count and print size work together. More pieces usually mean a larger finished puzzle, and a larger puzzle magnifies every weakness in the source image.
| Finished size (mm) | Approx. inches | 300 DPI target (pixels) | 200 DPI minimum (pixels) | Typical piece count |
|---|---|---|---|---|
| 300 x 200 | 11.8 x 7.9 | 3,540 x 2,360 | 2,360 x 1,570 | 120-252 |
| 400 x 300 | 15.7 x 11.8 | 4,720 x 3,540 | 3,150 x 2,360 | 252-500 |
| 500 x 375 | 19.7 x 14.8 | 5,900 x 4,430 | 3,940 x 2,950 | 500-750 |
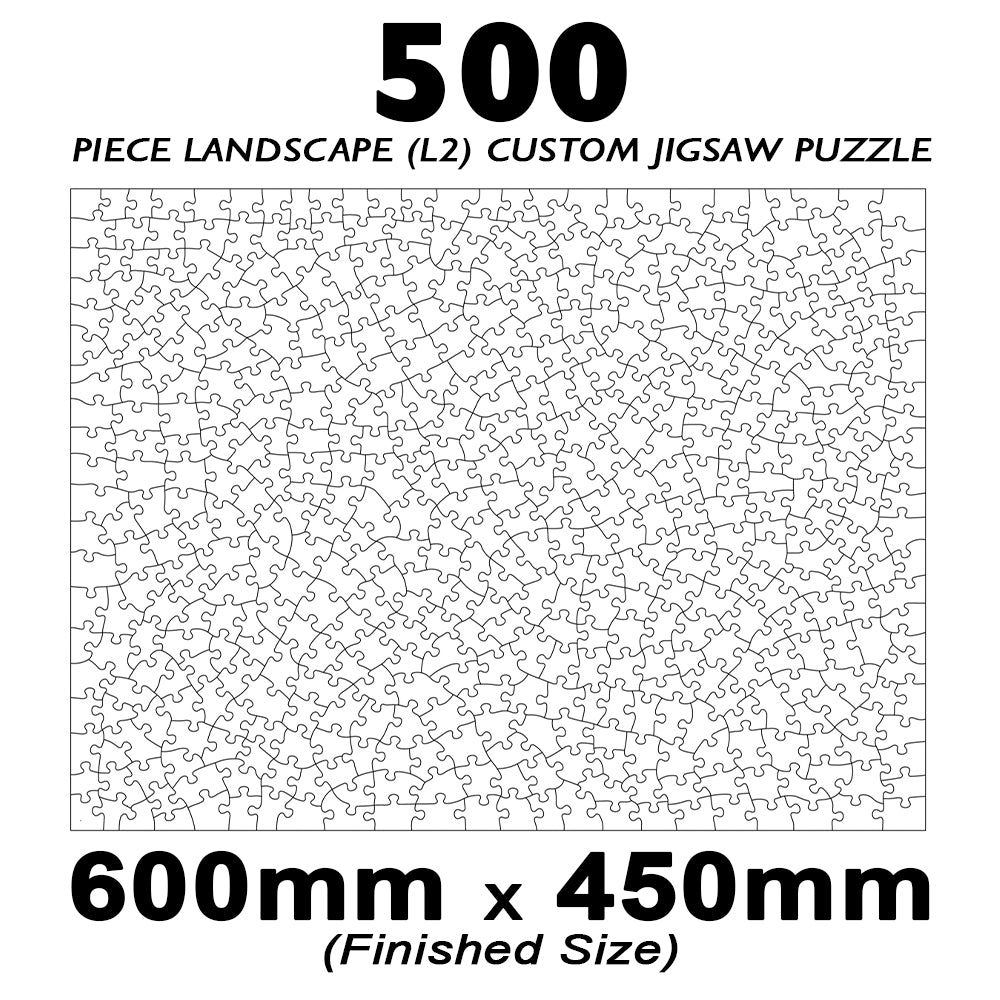
| 600 x 450 | 23.6 x 17.7 | 7,090 x 5,310 | 4,720 x 3,540 | 750-1000 |
| 700 x 500 | 27.6 x 19.7 | 8,270 x 5,900 | 5,510 x 3,940 | 1000-1500 |
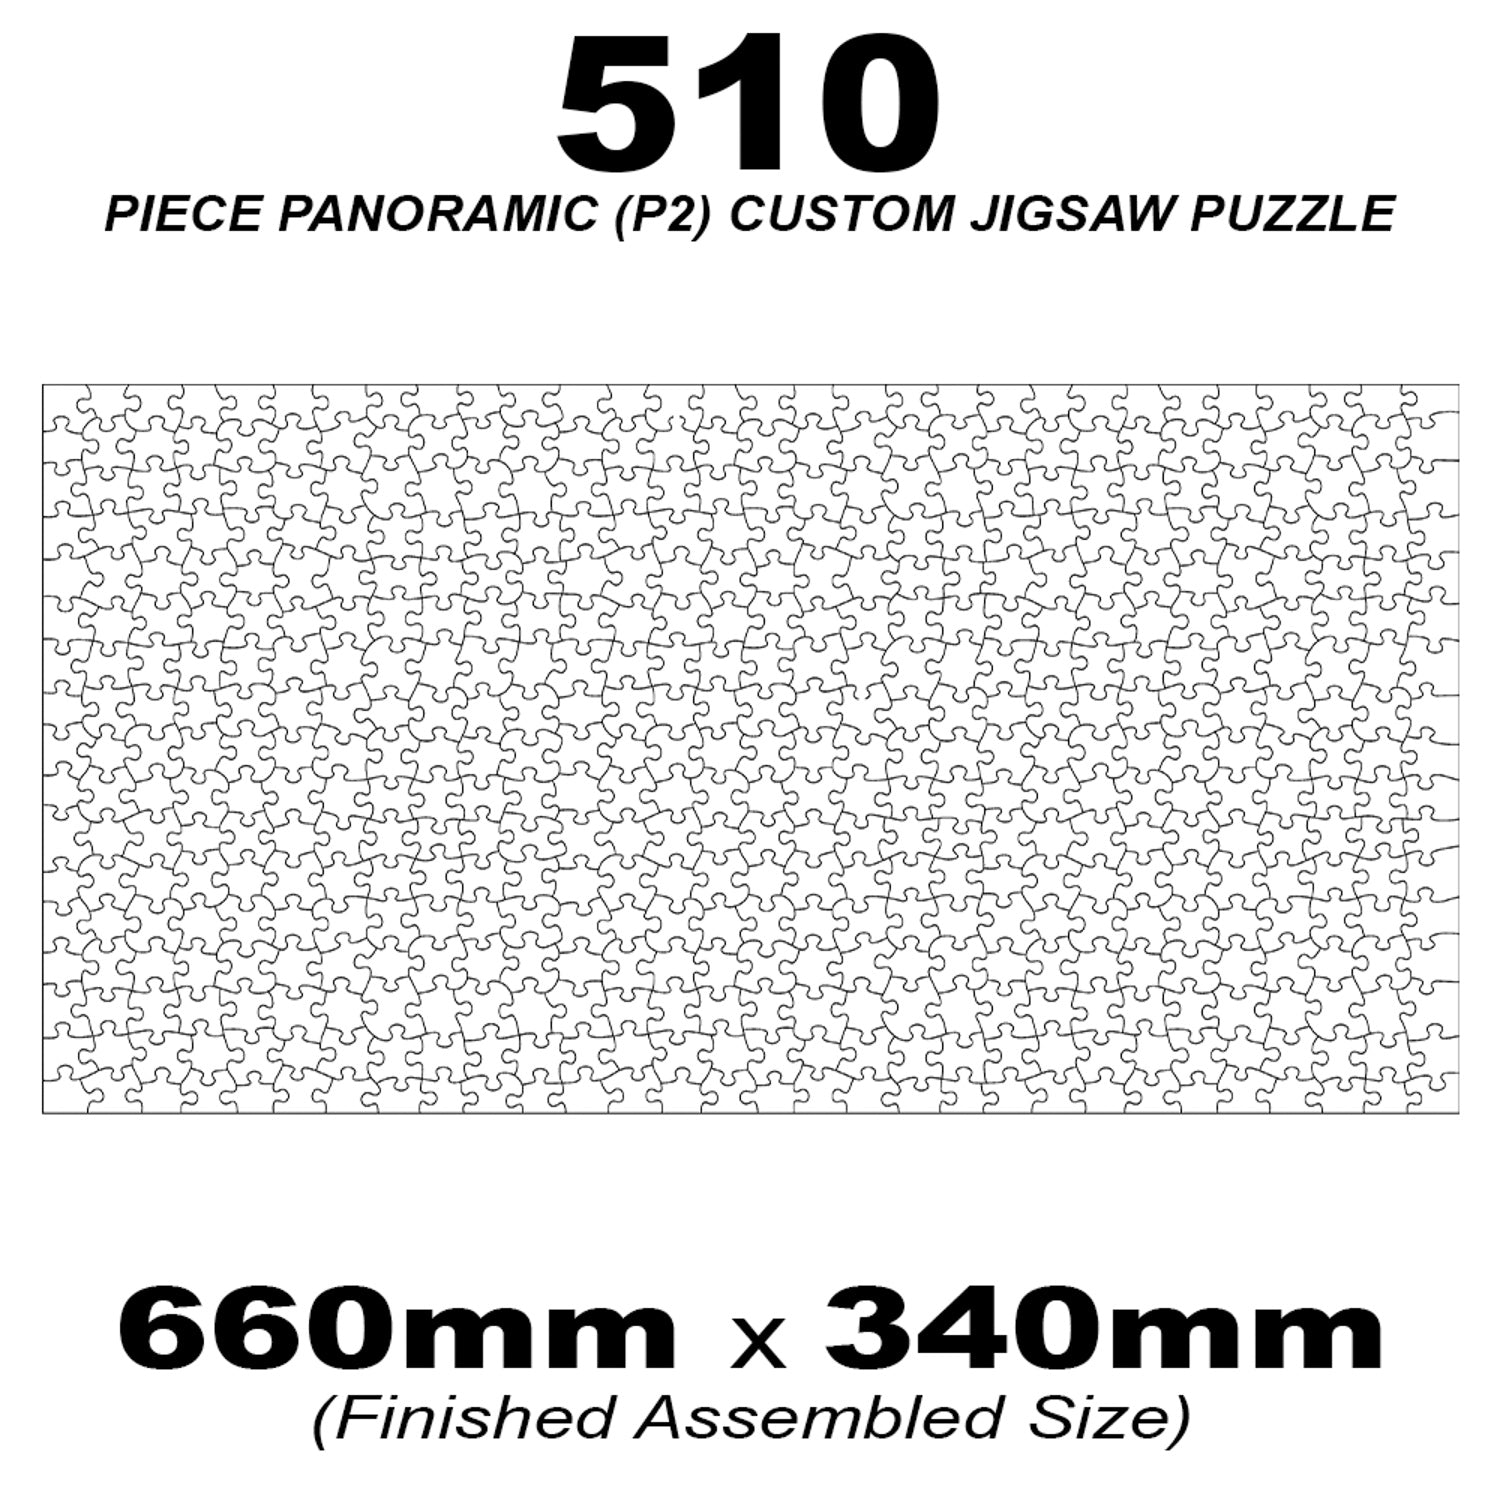
| 660 x 340 (panoramic) | 26.0 x 13.4 | 7,800 x 4,020 | 5,200 x 2,680 | 500-1000 |
Typical piece count
Use the 300 DPI column as the target and the 200 DPI column as the floor.
Before you commit, match your photo's pixel dimensions to the puzzle size. You can see real size and piece-count options on our 1000 piece landscape personalised puzzle, our 500 piece landscape custom jigsaw, our 500-piece extra-large-piece landscape puzzle, and our panoramic 2-to-1 custom jigsaw.
Watch out: a file can report large pixel dimensions yet still be soft if it was upscaled or saved at low quality, so confirm sharpness with the zoom test below.
How to Check Photo Quality for Printing Before You Upload
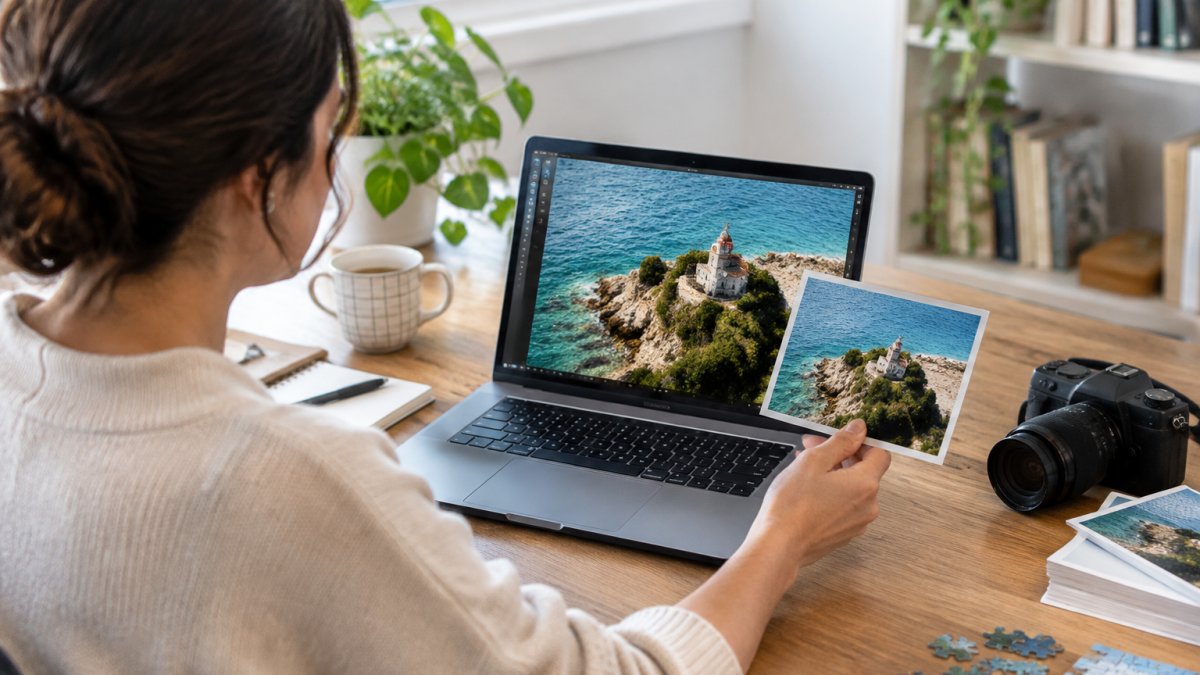
Checking photo quality for printing takes two minutes and saves a reprint. Do it before you upload, not after. This section gives you an ordered pass/fail workflow, a way to judge the photo at actual print size, and a decision path for when the only photo you have is already blurry.
The pre-upload blur and resolution checklist
Work through these checks in order. Stop at the first fail and fix it before moving on, because a later pass cannot rescue an earlier fail.
- Pixel dimensions. Open the file properties and read the width and height in pixels. Pass if both meet the 300 DPI target for your intended print size; fail if either falls below the 200 DPI floor.
- Focus. Zoom to 100% on a computer and inspect the subject's eyes, edges, and fine texture. Pass if those areas are crisp; fail if they are soft.
- Motion. Look for directional smearing or double edges, especially on hands, hair, and moving objects. Pass if edges are single and clean; fail if they streak.
- Compression. Look for blocky patches, halos around high-contrast edges, or banding in smooth areas. Pass if the file is clean; fail if artefacts are obvious.
- Actual print size. View the photo at the puzzle's real dimensions (method below). Pass if it still looks clear; fail if softness appears.
- Subject and contrast. Pass if a clear subject fills most of the frame with strong light-dark contrast; fail if the subject is small, low-contrast, or lost in a busy background.
How to evaluate a photo at actual print size
A phone screen flatters every photo. To judge what the puzzle will look like, open the image on a computer, set the zoom so it displays at roughly the puzzle's physical width on screen, and step back to normal viewing distance. Softness invisible at fit-to-screen zoom often appears at this size. Alternatively, print the photo on plain A4 paper at the puzzle's aspect ratio and hold it at arm's length; if it looks soft on paper, it will look soft on board.
Telling focus blur, motion blur, low resolution and compression apart
Not all softness is the same, and each cause has a different fix, or none.
- Focus blur: the subject is simply out of focus. Nothing recovers it.
- Motion blur: the camera or subject moved. Often unrecoverable.
- Low resolution: too few pixels for the print size. Sometimes fixable with a larger source.
Sharpening software can add edge contrast, but it cannot invent detail that was never captured. If the blur is focus or motion, no filter rescues it.
What to do when the only available photo is blurry
Sometimes the photo is the only one you have. Work through this decision path rather than reaching for a sharpening filter.
- Can you retake it? If the subject is available, reshoot with good light, a steady hold or tripod, and tap-to-focus on the subject. This is almost always the best fix.
- Is there an original? Ask for the camera original or the largest file available. Messaging apps and social media recompress images, so the version you saved may be far softer than the source.
- Can cautious enhancement help? If the blur is mild and the file is otherwise high-resolution, a modest sharpen and noise reduction may lift perceived sharpness. Apply it once, at the end of editing, and do not overdo it.
Watch out: repeated saving and re-editing of a JPEG degrades it each time, so do all edits in one session and export once at full resolution.
Best Photos for Custom Puzzles and the Camera Settings That Produce Them
The best photos for custom puzzles share a few traits: a clear subject, strong contrast, and detail that fills the frame. Busy backgrounds and large flat areas work against you.
Watch out for large areas of similar colour or texture. Big stretches of plain sky, grass, or snow give the eye nothing to grip, make a puzzle frustrating to build, and hide softness poorly.
On the camera side, a few settings protect image quality:
- Shoot at your camera's highest quality setting.
- Use good light so the camera doesn't raise ISO and add noise.
- Hold steady, or use a tripod, to kill motion blur.
Custom Photo Puzzle Cropping Tips That Protect Sharpness
Custom photo puzzle cropping tips matter because a crop throws away pixels. Crop too tight and you cut your resolution below what the puzzle needs.
Crop with the puzzle's aspect ratio in mind. A panoramic puzzle, for example, needs a wide image, and cropping a square photo to fit it removes a lot of detail. Check our panoramic puzzle page to see the shape before you cut.
A few rules that protect sharpness:
- Crop from the centre and keep the subject large.
- Avoid cropping so tightly that you lose pixel count.
- Keep the final crop above the pixel dimensions the puzzle needs.
Ordering Your Blur-Free Custom Puzzle from QPuzzles
Ordering a sharp custom puzzle comes down to one habit: check the source image before you upload, every time.
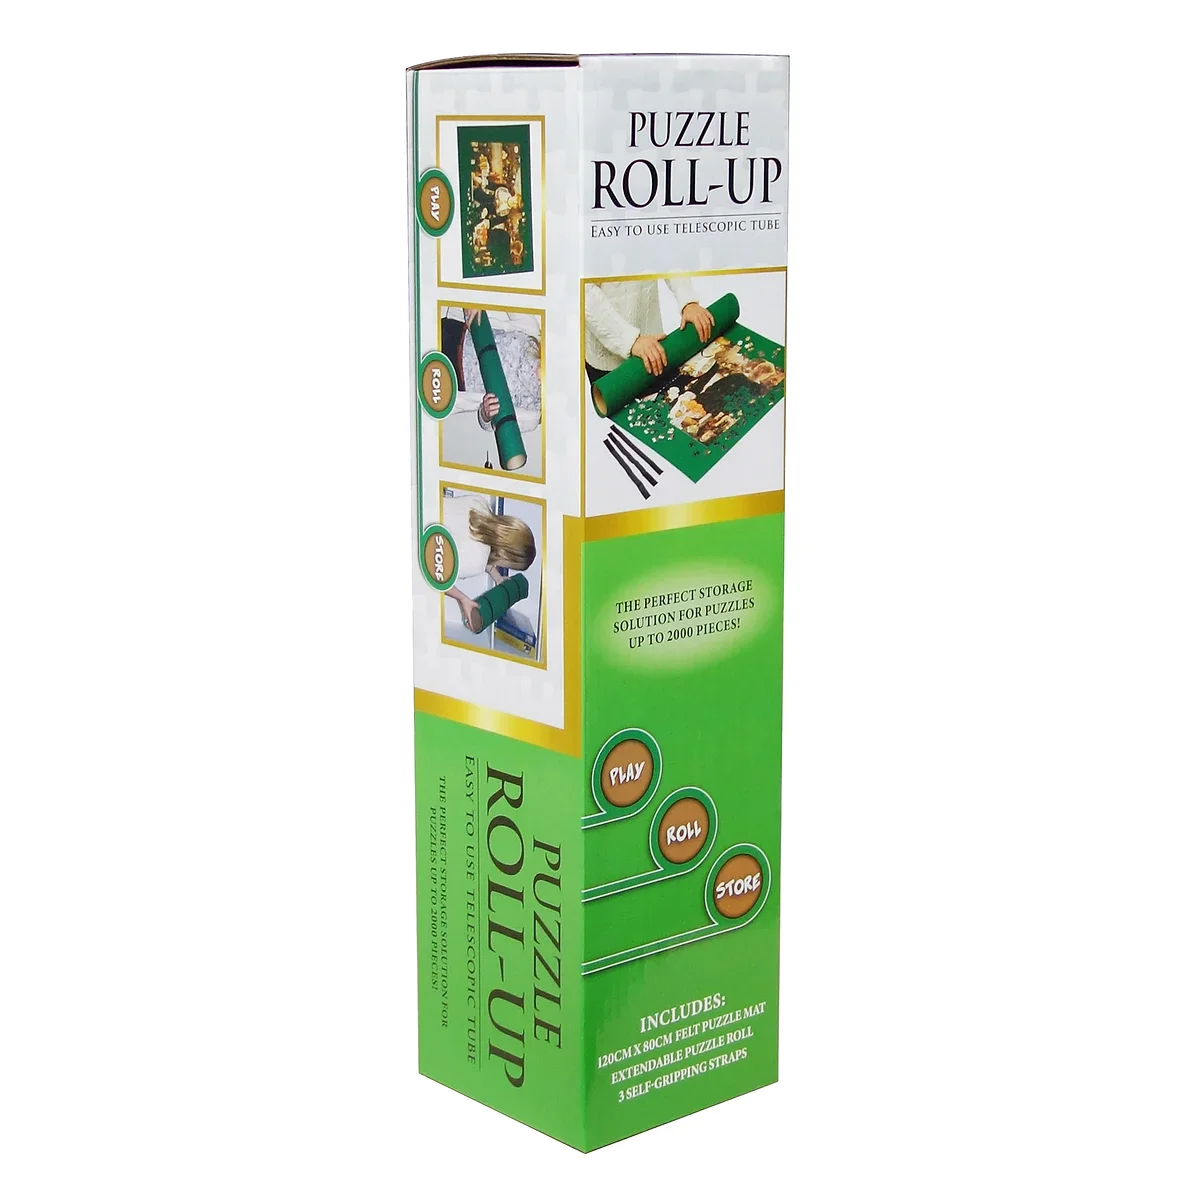
At QPuzzles, every puzzle is made here on the Gold Coast using certified eco-friendly, food-safe and toy-safe materials, and every order is backed by our full replacement warranty. Once your sharp puzzle arrives, a puzzle roll-up storage mat keeps it protected between sessions.
Blurry prints come from blurry sources, and a quick resolution check before you upload is the fix. QPuzzles makes premium, Australian-made custom puzzles with fast turnaround, eco-friendly and toy-safe materials, and a full replacement warranty.
Frequently Asked Questions
What resolution should a photo be for a jigsaw puzzle?
Aim for at least 300 DPI at the finished puzzle size. As a general rule, check the pixel dimensions of your file before uploading against the size you intend to print. If your file falls short, choose a smaller puzzle size or a different photo rather than hoping the print will hold up.
Can I make a blurry photo sharper before ordering a puzzle?
Sharpening tools can add a little edge definition, but they cannot recover detail that was never captured. If the blur comes from camera shake, missed focus or a low-resolution file, no amount of editing will make it print cleanly at puzzle scale. Mild sharpening after resizing is fine for photos that are already in focus and high resolution. For a genuinely blurry shot, the safer path is to pick a different image or choose a smaller piece count so the softness is less obvious.
Does puzzle piece count affect how clear a photo puzzle looks?
Yes. Higher piece counts mean smaller pieces, which means the same photo is spread across more cuts and viewed at closer range. Softness and noise that look acceptable on a 100-piece puzzle become obvious on a 1000-piece one. If your best available photo is only moderately sharp, a lower piece count gives it more room to breathe. Match the piece count to the image quality you actually have, not just to the challenge level you want.
Why does my photo look clear on my phone but blurry when printed?
A phone screen is small and densely packed, so softness and compression hide easily. Print stretches the same file across a much larger surface, and every weakness shows. Screenshots, images saved from social media and heavily compressed files lose detail before they ever reach you. Always check the original file from your camera roll or cloud storage, confirm its pixel dimensions, and view it at 100% zoom on a computer before uploading to a custom photo puzzle order.

